Hiking Pic Ideas: Aesthetic Shots, Poses, and How to Actually Look Good on the Trail
Disclosure: This post may contain affiliate links. I may earn a small commission if you click a link or make a purchase, at no additional cost to you. See my disclosure for more info.
You finally made it to the top. The view is unreal, the light is golden, and you are wearing the exact outfit you planned. You hand your phone to a stranger or prop it on a rock, take twenty shots, and scroll through them on the trail back down. Flat. Awkward. Nothing like what you saved on Pinterest. That is not bad luck — it is a setup problem. A $20 tripod and three technique shifts fix almost all of it. Here is the full kit and the technique to use it.
QUICK PICKS — THE FULL GEAR KIT
| Item | Pick | Price | Stars |
|---|---|---|---|
| Main Tripod | UBeesize 62″ + Remote | $19.58 | 4.6★ | 89,800 reviews |
| Compact/Travel Tripod | Joby GorillaPod 500 | $26.94 | 4.4★ | 1,076 reviews |
| Bluetooth Remote | zttopo Remote 2-Pack | $7.99 | 4.6★ | 8,576 reviews |
| Fill Light | NEEWER Clip Selfie Light | $28.99 | 4.7★ | 7,068 reviews |
| Camera Carry | Peak Design Capture Clip | $79.95 | 4.7★ | 10,466 reviews |
| Action/Adventure Cam | GoPro HERO11 Black | $289.99 | 4.4★ | 1,056 reviews |
SHOP OUR CAMERA GEAR
Tripods, cameras, remotes, and everything we use on trail
Affiliate disclosure: Some links in this post are affiliate links. We earn a small commission at no extra cost to you.
Why Your Hiking Pics Never Look Like Your Inspo
The pics you save on Pinterest were not taken by accident. Someone set up a shot. They used a tripod or a patient friend, picked the right moment in the light, and thought about what was in the frame before they hit the shutter. None of that is complicated — it just has to be intentional. Most people on a hike are rushing between the walk and the view. The pics suffer for it.
The Gear Kit: 6 Items, Under $160 Total
Most hiking photography problems are not camera problems. The limiting factor is almost never the phone — it is the absence of a stable platform, a remote shutter, and decent light. Here is the full kit we use on trail, from the piece that makes the biggest difference to the upgrade picks for specific situations.
1. The Main Tripod: UBeesize 62″ Phone Tripod + Bluetooth Remote

UBeesize 62″ Phone Tripod + Bluetooth Remote
4.6★ | 89,800 reviews | $19.58
Why we picked it: 89,800 reviews at 4.6 stars. Extends to 62 inches — tall enough to frame your full body standing on a trail — and the Bluetooth remote means you shoot when you are ready, not when a 10-second timer runs out. Fits in any daypack side pocket. The remote is the part most people underestimate: being able to stay in position and fire a burst of 15 frames without running back to the camera is what makes the difference between one awkward shot and finding a great one. The ball head handles terrain adjustment on uneven trail.
The catch: Ball head loosens slightly at full extension on uneven ground. Tighten one click past where you think it is set and push the legs into the dirt.
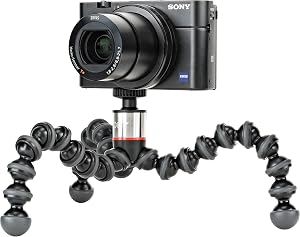
2. The Flexible Tripod: Joby GorillaPod 500
4.4★ | 1,076 reviews | $26.94
Why we picked it: The flexible legs wrap around a branch, clamp to a fence post, grip a rock edge, or sit stable on uneven surfaces where a traditional tripod leg cannot find flat ground. This is the tripod for creative angles — low to the ground, clamped to something off the trail, wedged in a tree. It is shorter than the UBeesize so it will not frame your full body standing, but for waist-up shots and creative setups it solves problems a straight tripod cannot.
The catch: Too short to frame a standing full-body shot. Pair it with the UBeesize for the full toolkit.
3. The Bluetooth Remote: zttopo Wireless Remote 2-Pack

zttopo Wireless Remote Shutter, 2-Pack
4.6★ | 8,576 reviews | $7.99
Why we picked it: 8,576 reviews at 4.6 stars and $7.99 for two remotes is the most obvious $8 you can spend on your photography. Works with iPhone and Android via Bluetooth. Pairs in seconds. At this price, keep one in every pack you own so you never forget it. The UBeesize tripod above comes with its own remote, but if you already have a tripod and are still running to hit the 10-second timer, this fixes it immediately.
The catch: Battery is replaceable but small — it will eventually die. Keep a CR2032 spare in your camera bag.
4. Fill Light for Low Light and Overcast Days: NEEWER Clip Selfie Light

NEEWER Clip Selfie Light, 60 LED
4.7★ | 7,068 reviews | $28.99
Why we picked it: Clips to your phone, 60 LEDs, CRI 95+ (which means the color is accurate and flattering rather than the blue-green cast of most cheap lights), rechargeable via USB, three light modes. 7,068 reviews at 4.7 stars. On overcast days on trail when the light is flat, this adds dimensionality to face shots. On shaded canyon sections where ambient light is low, it fills the shadows. It is not a substitute for golden hour, but on the days when the light is genuinely bad, it is the difference between a usable shot and an unusable one.
The catch: Adds a slightly artificial look in full sun — best in shade or low light, not in direct golden hour where natural light is already doing the work.
5. Camera Carry: Peak Design Capture Clip V3

4.7★ | 10,466 reviews | $79.95
Why we picked it: If you hike with a dedicated camera rather than your phone, keeping it accessible is the entire challenge. A camera in your pack means you miss shots. The Peak Design Capture Clip mounts to a pack strap and holds any camera body securely with a quick-release that lets you grab the camera and shoot in about one second flat. 10,466 reviews at 4.7 stars on a $80 piece of hardware is exceptional. The clips are the reason photographers who use them never go back to dangling neck straps or buried bags. Works with DSLRs, mirrorless, and compact cameras including the G7X.
The catch: Expensive for what it physically is. But the problem it solves — having your camera immediately accessible on trail without dangling or bouncing — is worth the cost if you actually use a dedicated camera on hikes.
6. The Action Camera: GoPro HERO11 Black

4.4★ | 1,056 reviews | $289.99
Why we picked it: 5.3K60 video, 27MP photos, waterproof to 33 feet without a case, HyperSmooth 5.0 stabilization. The GoPro is not a replacement for a phone or a compact camera — it is for content that neither of those handles: water crossings, steep scrambles, shots mounted to your pack or helmet, slow-motion descent footage. For the person who hikes and also creates content, the GoPro covers the shots that require the camera to be in motion with you. Pair it with the Peak Design clip or a chest mount for hands-free shooting on technical terrain.
The catch: Battery life is shorter than you expect on cold days at altitude. Carry a spare battery on any hike over four hours. The footage needs editing — raw GoPro files are not social-media ready without a pass in CapCut or Premiere.
For a dedicated compact camera: When you are ready to step past phone photography, the camera we recommend for trail use is the Canon G7X Mark III — jacket-pocket size, shoots in low light where phones give up, and handles both video and stills. See our full camera guide for every option at every budget including mirrorless and point-and-shoot comparisons.
How to Get Good Hiking Pics of Yourself
Use the Trail as a Leading Line
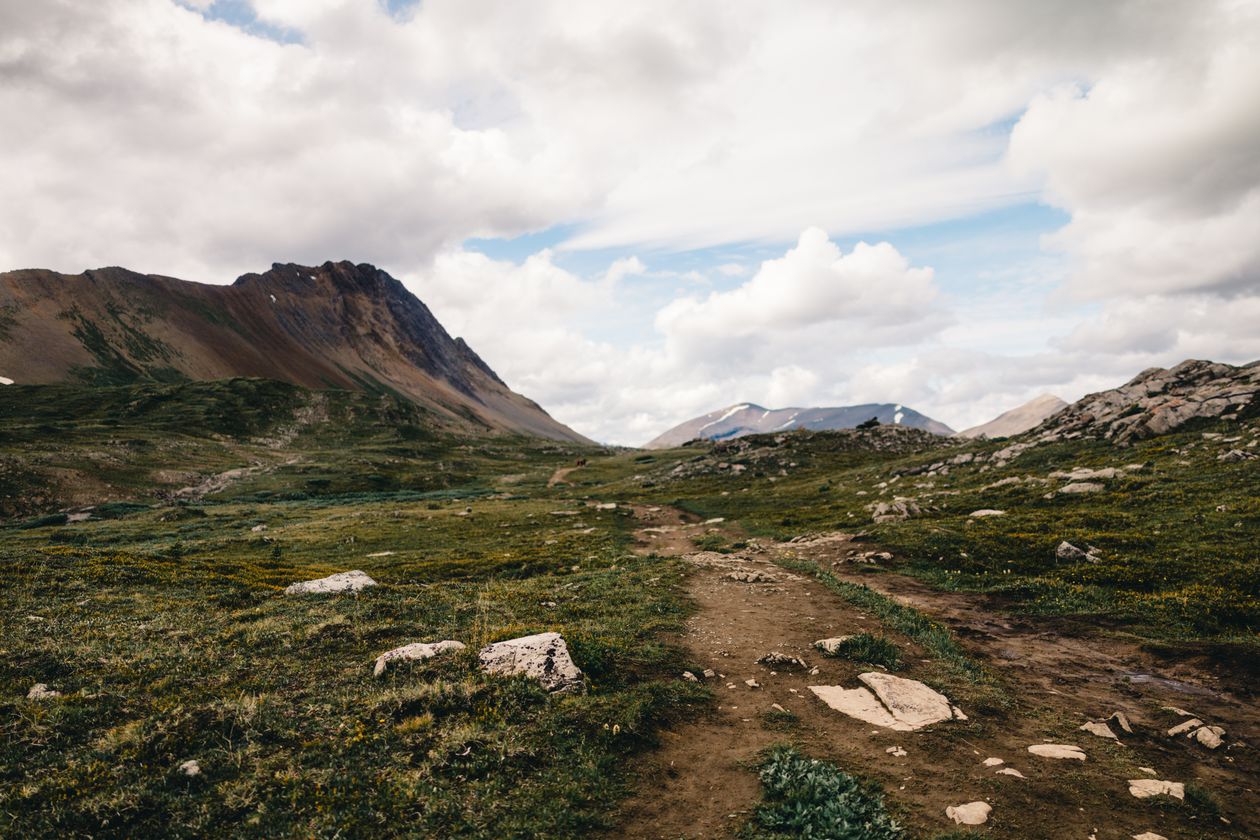
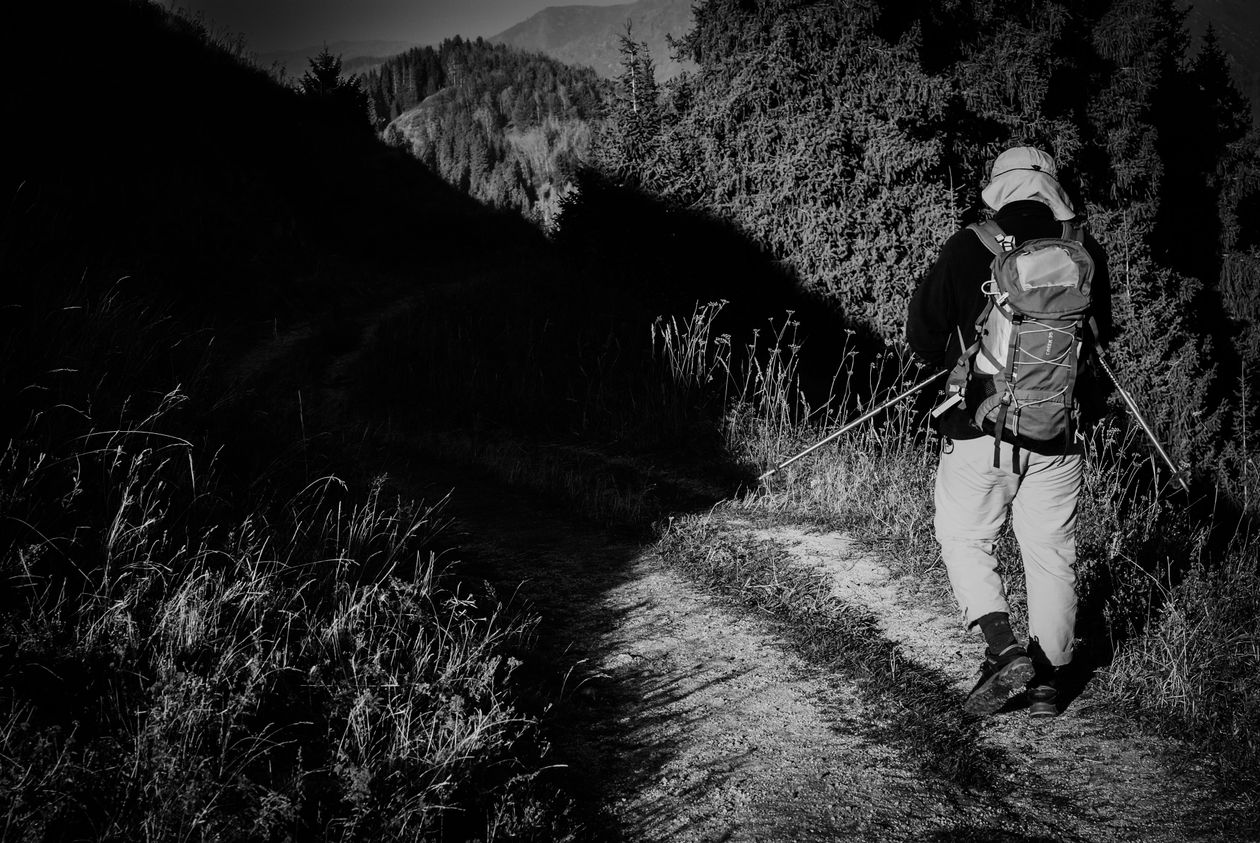
Tripod at trail level a few feet back, you 20-30 feet down the path walking away. The trail leads the eye straight to you. Works going uphill, downhill, around a bend — anywhere the trail has a clear line. This is the shot that gets saved on Pinterest because it communicates the experience rather than just showing a person standing somewhere.
Movement Beats Standing Still
Walking shots look more natural than posed shots on a trail. Bluetooth remote in hand, walking naturally away from or toward the camera, shoot a burst. Look down at the trail, look up at the view, push your hair back — anything that reads as a real moment. The shots where you are mid-step with genuine movement are almost always better than the ones where you stopped and stood.
Look Away From the Camera
Looking directly into the lens on a trail almost always looks forced. Look at the view, look at the ground ahead, look off to the side like something caught your attention. The “I do not know I am being photographed” angle is the most editorial look you can get on a trail. Pair this with a walking shot and you have the combination that looks like a professional shoot.
The Solo Hiker Setup
Tripod on the trail, Bluetooth remote in hand, walk into frame naturally. Over-shoot: 15 frames per setup, use one or two. Do a test frame, walk back and check your position, adjust, then shoot the real burst. Three minutes per shot and the results look nothing like what you get propping your phone on a rock. For the specific poses that work — how to stand, where to put your hands, angles that photograph well — see our poses for photos guide and posing for pictures breakdown.
8 Specific Shot Types Worth Planning
1. The Leading Trail Shot
Tripod at trail level, you 20-30 feet ahead walking away. The trail fills the lower half of the frame and creates depth. Most versatile hiking shot — works on every trail in every season.
2. The Summit Shot
You at the top, view behind you. Get as far back as terrain allows — the more of the view visible behind you, the better. Arms wide or one arm raised reads as celebration; arms at sides reads as a passport photo.
3. The Scale Shot
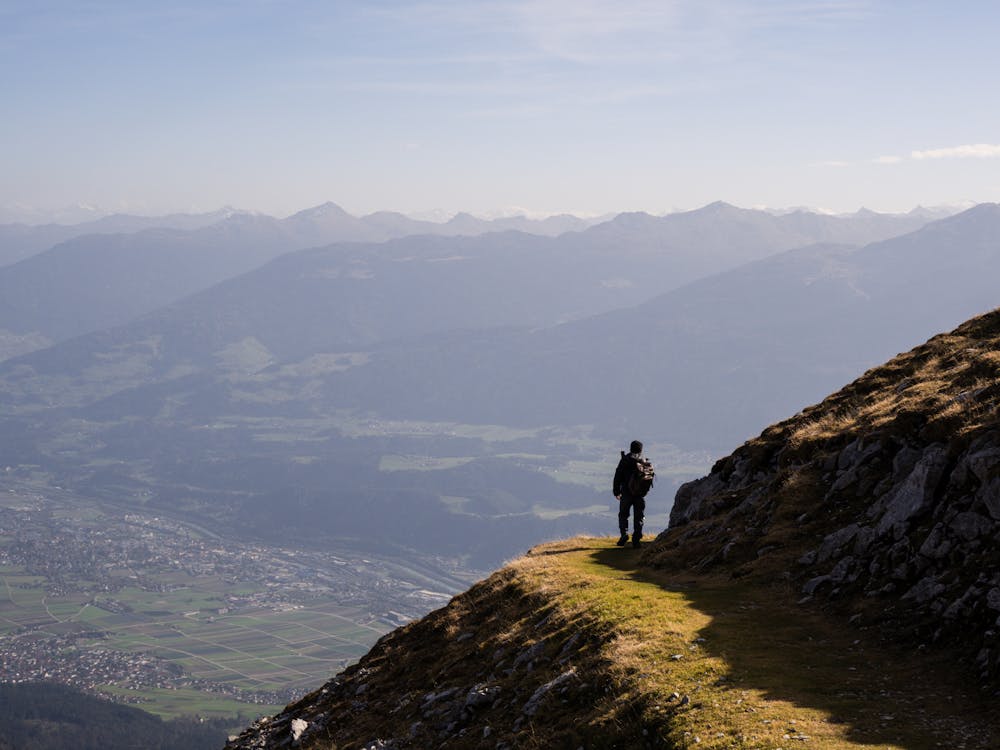
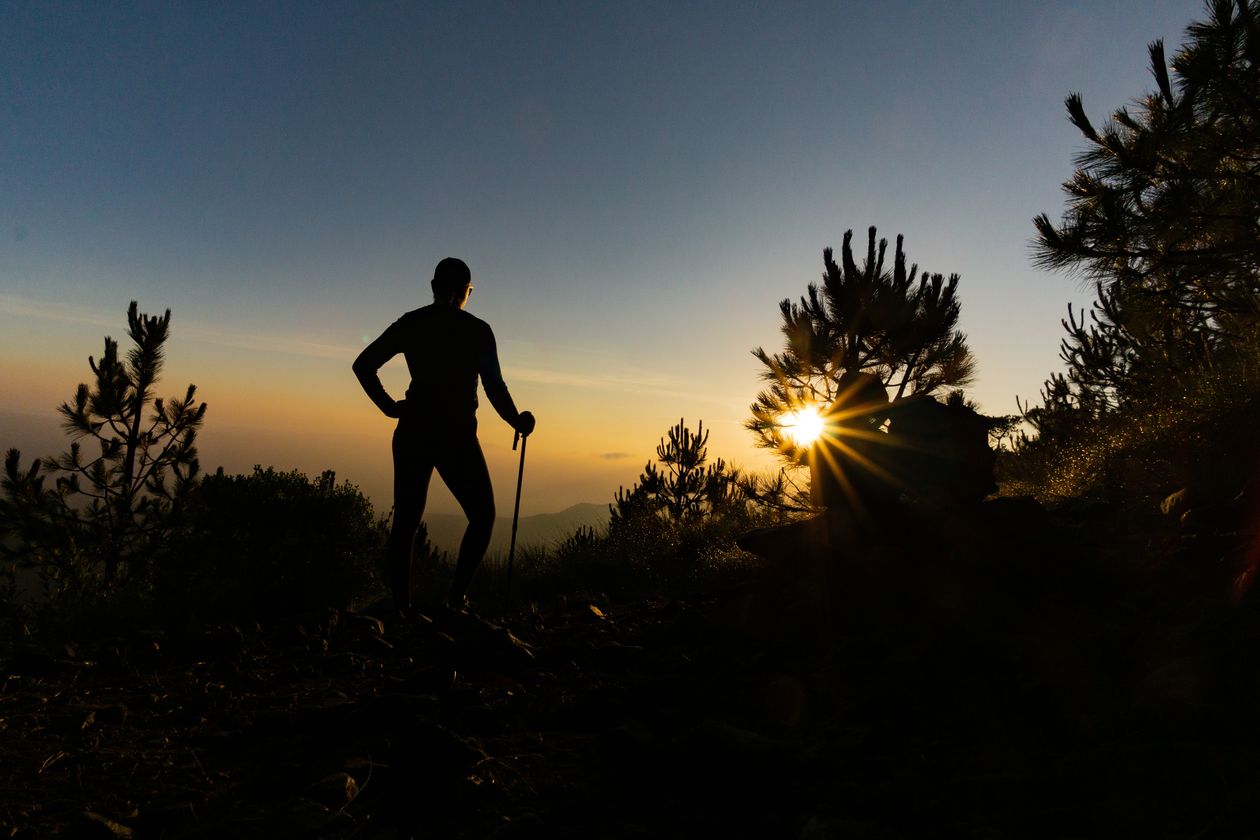
You small in the frame, landscape dominant. Stand at the edge of a viewpoint and let the landscape take 80% of the frame. Your presence gives the viewer a scale reference that makes the landscape feel enormous. This is the shot that performs best on Pinterest.
4. The Canyon Shot
Shoot from inside the canyon looking out, not just from the rim looking down. In the Grand Canyon: shoot from the inner canyon looking back up at the South Rim with the walls on both sides. The perspective makes the scale feel real. See our full hiking gear guide for what to carry on a canyon descent.
5. The Golden Hour Shot
Plan to be at your viewpoint 45 minutes before sunset. The window before it goes fully golden is the best shooting light — warm but not blown out, long shadows, beautiful on faces. Position yourself so the light hits from the side or slightly behind for a rim-lit effect impossible to get any other time of day.
6. The Couple Shot
Walk together, one slightly ahead, both looking forward — not at the camera. Or one pointing out something in the distance. The most natural-looking hiking date shots are the ones where neither person is looking at the lens.
7. The Gear Flat Lay
Your pack contents on a rock: boots, poles, water bottle, snacks, camera, hat. Shoot from directly above in even light. Grid-like layout, not random. This performs well on Pinterest because it is useful — people save it as a packing reference.
8. The Action Descent Shot
Trekking poles in hand, moving down a steep section, shot from below by a partner or on a timed burst. Poles in this shot look excellent — they signal the terrain is serious. See our trekking poles guide for the picks.
Scenery Shots: Composition Basics That Work
Add foreground interest. The difference between a flat landscape and a Pinterest-worthy one is almost always foreground. Wildflowers, rocks, your own boots in the corner of the frame — something close to the lens that gives the image layers. Get lower than you think you need to. Knee-height with flowers in the foreground and a mountain behind it looks like a magazine cover. Standing height looks like a snapshot.
Rule of thirds. Put the horizon on the upper third line when the foreground is interesting; lower third when the sky is doing something. Dead center horizon is almost always the weakest choice. Turn on the grid overlay in your camera settings and leave it on permanently.
What not to do. Shooting into the sun without meaning to. Using portrait mode on a trail — AI background blur against complex natural textures looks uncanny; shoot standard and edit in post. Over-editing with crushed blacks and extreme clarity creates the over-processed look that dates photos fast. The best hiking pics are shot in good light and barely touched in editing.
What to Wear for Hiking Pics That Actually Look Good
Solid colors over busy patterns. Hiking landscapes are already busy. A solid color outfit gives the eye a clean anchor point. Busy patterns compete with the background.
Earth tones and muted colors. Sage green, warm cream, terracotta, dusty blue, natural tan — these look intentional in a natural setting and photograph well in golden hour light. Neon anything ages a photo quickly.
Layering creates dimension. A base layer with a flannel open over it, or a fleece tied at the waist, gives visual complexity that a single shirt never has. See our hiking outfits guide for the specific pieces that work both on trail and on camera.
Editing: The Minimal Version That Works
Exposure: Slightly underexpose while shooting — tap the brightest part of the frame to lock focus, drag the exposure slider down slightly. Far easier to brighten underexposed than recover a blown-out sky.
White balance: Warming slightly toward 5500-6000K makes golden hour shots look better and midday shots feel less clinical. Do not go so warm it looks orange.
Highlights and shadows: Bring highlights down, lift shadows up. Recovers sky detail while making shaded paths more visible. The most useful single adjustment on outdoor shots.
Texture not clarity: On portraits, keep both near zero — high clarity makes skin look rough. On landscape-only shots, moderate texture adds definition to rocks and trees without halos.
SHOP BY CATEGORY
Everything you need for better trail photography
FAQ
Does a tripod work on rocky or uneven trail surfaces?
Yes, with adjustment. Each leg extends independently to compensate for uneven ground. On rocks, brace a leg against a natural edge. On dirt, push the leg tips in deeper than you think you need to. Shoot a test frame and adjust before walking into position. The UBeesize ball head has enough range to level the camera even with legs at different heights.
What time of day is best for hiking pics?
Golden hour — the 45 minutes before sunset. Plan to be at your key spot before that window opens. Midday between 10am and 3pm is harsh and unflattering. Early morning within an hour of sunrise is underrated: soft light, empty trails, clean shots. If the light is bad, move to open shade — it is even and flattering in a way direct harsh sun never is.
How do I get shots of myself when hiking solo?
Tripod and Bluetooth remote. Set up the shot, walk into frame, shoot a burst of 15 frames using the remote in your hand. Review, adjust position, shoot the real burst. Three minutes per setup and the results look nothing like what you get propping your phone on a rock.
Can I get good hiking pics with just my phone?
Yes. The phone is not the limiting factor — setup, timing, and composition are. A modern iPhone or Android in good light with a tripod produces shots you would actually post. When you feel limited, it is usually low light. That is when the Canon G7X earns its price.
What are the best poses for hiking photos?
Walking away from the camera. Sitting on a rock looking at the view. Standing at a viewpoint with one arm raised. Looking down at the trail with the view visible ahead. Avoid standing directly facing the camera with arms at sides — it reads as a school photo. See our poses for photos guide and posing for pictures for the complete breakdown.
What is the GorillaPod best for on a hike?
Creative setups where a straight tripod cannot find flat ground: clamped to a branch for a shot looking back at the trail, wedged on a rock edge for a low foreground shot, or wrapped around a fence post at a viewpoint. The UBeesize handles your standard standing shots. The GorillaPod handles the unconventional angles that make a gallery interesting.
When is the GoPro better than my phone?
Any situation where the camera needs to move with you or where waterproofing matters: water crossings, summit scrambles, steep descents where you want footage of yourself in motion, shots mounted to your chest or pack. Your phone is better for stationary scenic shots and portraits in good light. The GoPro is better when the camera needs to be in the action rather than watching from a tripod.