
Rocky Mountain National Park Hiking: Trails, Permits, and What to Bring
Disclosure: This post may contain affiliate links. I may earn a small commission if you click a link or make a purchase, at no additional cost to you. See my disclosure for more info.
You drove four hours from Denver, pulled into the park at 10am, laced up your boots, and hit Emerald Lake Trail. By the half-mile mark you were winded. By the one-mile mark you were sitting on a rock. By the turnaround you had a headache that lasted through dinner. Altitude sickness is the thing nobody mentions when they recommend Rocky Mountain National Park, and it catches a lot of visitors completely off guard. RMNP starts at 7,500 feet and goes to 14,000. If you live at sea level, your body needs time. Here’s what to know before you go, so the altitude doesn’t become the story of your trip.
GEAR YOU ACTUALLY NEED FOR RMNP
Hiking Boots with Ankle Support
Rocky, uneven terrain on every trail above Bear Lake
Trekking Poles
Elevation gain hits harder at altitude — poles earn their place
OUR HIKING GEAR PICKS
Everything We Bring to the Mountains, on Our Amazon Storefront
Boots, packs, poles, rain layers, water filters — curated from what we actually use on trail.
As an Amazon Associate we earn from qualifying purchases. This doesn’t change our picks or what we recommend.
Why You Should Trust This
We hike actively and have spent time in Colorado’s high country. Altitude sickness, afternoon storms, and the Bear Lake permit crush are things we’ve dealt with personally, not read about. Everything in this guide reflects what actually happens when you show up at Rocky Mountain National Park without someone who’s been there to warn you first.
Before You Go: The Logistics That Will Make or Break Your Trip
The Altitude Problem (Read This First)
Rocky Mountain National Park sits between 7,500 and 14,259 feet. Most of the popular trailheads are above 9,000 feet. If you live anywhere near sea level — and that’s most of the country — your body simply doesn’t have the red blood cells to process oxygen efficiently at that elevation without time to adapt.
Symptoms of altitude sickness: headache, fatigue, shortness of breath, nausea, dizziness. They hit without warning and can ruin a hike you’ve been planning for months. The fix is simple but requires planning: arrive one night early and sleep in Estes Park or Grand Lake before hiking. One night of sleep at elevation is enough to make a meaningful difference for most people. Going straight from the airport to the trailhead is a gamble that doesn’t always pay off.
On trail, go slower than you think you need to. Drink more water than you normally would. If a headache starts, stop climbing and descend. Altitude sickness doesn’t negotiate.
Park Entrance Fees and the America the Beautiful Pass
A 7-day vehicle pass costs $35, or $30 for a single day. If you’re doing more than one national park on this trip — and Colorado has several within driving distance — the America the Beautiful Annual Pass at $80 covers every federal recreation site for a year. It pays for itself in two park visits and is one of the best-value purchases in outdoor recreation.
Timed Entry Permits in 2026 (Required May–October)
RMNP runs a timed entry reservation system from May 22 through mid-October 2026. There are two permit types and you need to pick the right one or you’ll get turned around at the gate.
Timed Entry + Bear Lake Road — Required from 5am to 6pm daily if you want to hike any trail in the Bear Lake corridor: Emerald Lake, Dream Lake, Nymph Lake, Glacier Gorge, Mills Lake. This is what most first-time visitors need. It runs through October 18, 2026. Book on Recreation.gov. There’s a $2 non-refundable processing fee on top of your entrance fee.
Timed Entry (rest of park) — Required from 9am to 2pm if you’re doing Trail Ridge Road, the Alpine Visitor Center, Wild Basin, Lily Lake, or the Grand Lake (west) side. Easier to get than the Bear Lake version. Runs through October 12, 2026.
Reservations release monthly on Recreation.gov at 8am MDT. The Bear Lake permits go fast. A same-day option opens at 7pm the night before — set an alarm. You can also enter the park before the permit window opens: before 5am for Bear Lake, or before 9am for the rest of the park, without a reservation. Getting there at 7am is a legitimate strategy and often means an emptier trailhead too.
Shuttles, Parking, and Getting Around
The Bear Lake Road Corridor has a free park shuttle that runs from the Glacier Basin Campground staging area to all the major Bear Lake trailheads. If you’re arriving during the permit window, parking at Glacier Basin and taking the shuttle is often faster than trying to park at Bear Lake itself — that lot fills by 9am even with the permit system in place.
Beaver Meadows Entrance is the main east entrance, closest to Estes Park and Bear Lake. Fall River Entrance (a few miles north) is less congested and better if you’re heading to Old Fall River Road. Grand Lake Entrance on the west side accesses the quieter part of the park and Trail Ridge Road’s western half.
Afternoon Thunderstorms (The Reason to Start Early)
From June through August, thunderstorms build over the mountains almost every afternoon. Lightning above treeline is one of the most dangerous situations a hiker can be in. The rule locals follow: be off exposed ridges and above-treeline terrain by noon, preferably by 11am. Start early, hit the summit or high point by mid-morning, and be back in the trees by the time the clouds build. This isn’t a weather-app problem — it’s a planning problem. Schedule your hard hikes for 6am starts, not 10am ones.
The Trails: Easy to Strenuous
Easy Hikes
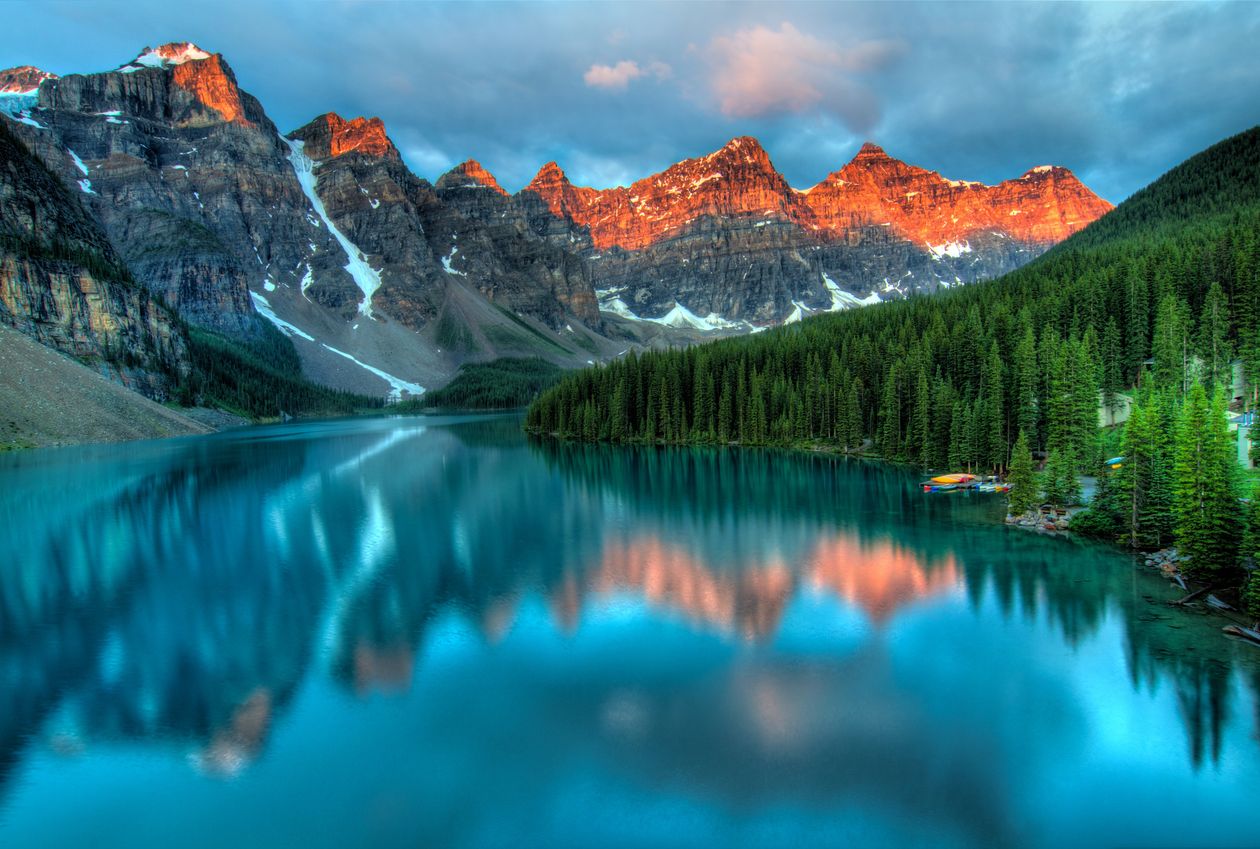
Bear Lake Loop — 0.6 miles, flat, gravel, accessible. The shortest real hike in the park. A flat loop around a beautiful alpine lake with mountain reflections and direct views of Hallett Peak. Reaches the lake from the Bear Lake trailhead in about 5 minutes. The crowds are real, but it earns them. Great for first-time visitors, families, and anyone who wants stunning scenery without earning it on a climb. Arrive before 9am or expect to share the trail with most of Estes Park.
Lily Lake — 0.8 miles, flat loop, no shuttle required. One of the park’s best-kept secrets for easy hiking. Lily Lake sits outside the main Bear Lake corridor, which means no shuttle and often no crowds. The flat loop circles a quiet alpine lake with direct views of Longs Peak and Mount Meeker — two of the most dramatic mountains in the park. Dogs are allowed on a leash here, which is rare in RMNP. No timed entry permit required — standard park entry only. The trailhead is on Route 7, about 7 miles south of Estes Park.
Moderate Hikes
Emerald Lake Trail — 3.3 miles round trip, 715 feet of gain. The most popular hike in the park, with 26,431 reviews at 4.8 stars on AllTrails. The reason: it passes four lakes on the way up (Bear Lake, Nymph Lake with its lily pads, Dream Lake with its mountain reflection, and Emerald Lake at the end), each one better than the last. The trail is clearly marked, busy but manageable before 9am, and delivers more scenery per mile than almost any hike in the country. Needs the Timed Entry + Bear Lake Road permit during peak season.
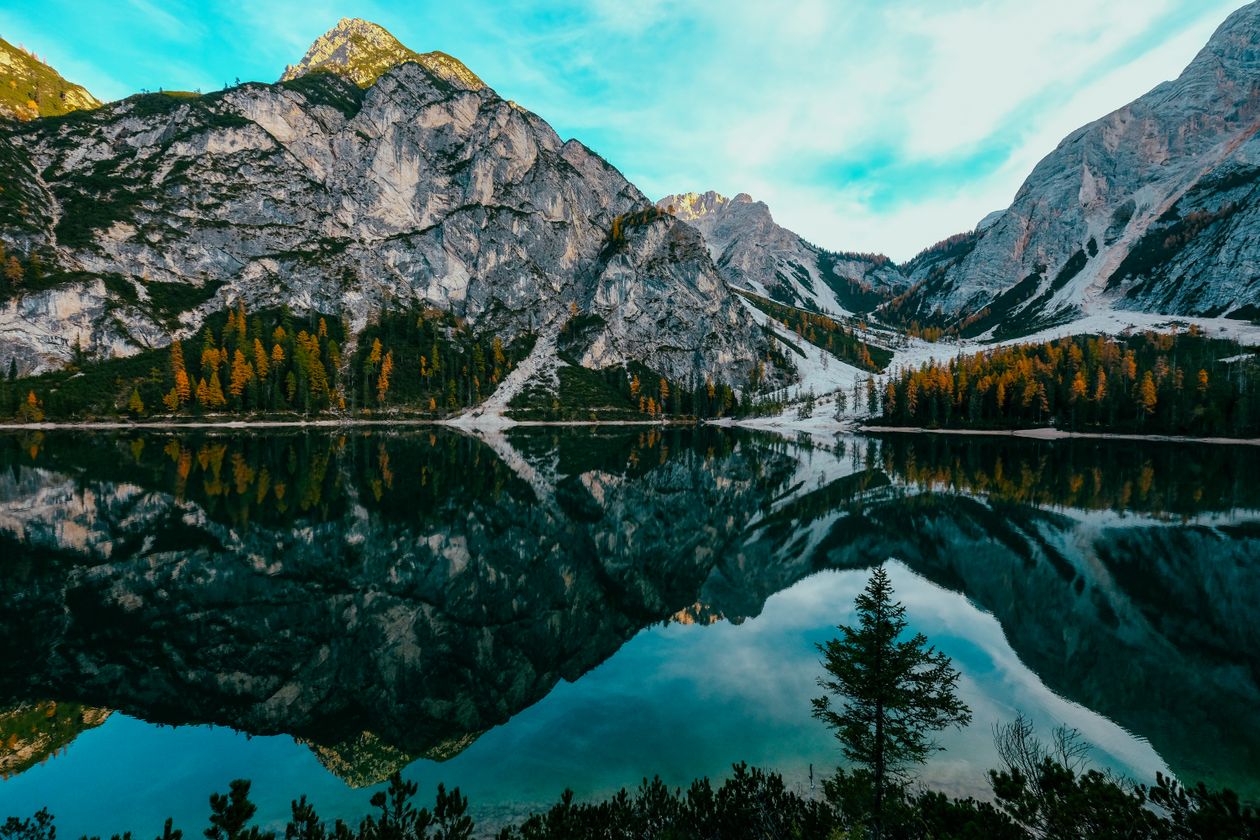
Mills Lake via Glacier Gorge — 5.3 miles round trip, 700 feet of gain. A slightly longer version of the Emerald Lake experience that ends at a massive, boulder-ringed lake at the foot of Glacier Gorge. Passes Alberta Falls on the way up — a popular waterfall that’s worth the stop even if you turn around there. Mills Lake is one of the best places in the park for a long lunch with a view. Same Timed Entry + Bear Lake Road permit needed.
Lake Ypsilon — 8.5 miles round trip, 1,700 feet of gain. The long moderate option for people who want to get away from the crowds. Starts at Lawn Lake Trailhead in the Horseshoe Park area — no Bear Lake permit needed, just standard timed entry. Passes Chipmunk Lake, then continues up to Lake Ypsilon under the north faces of Ypsilon Mountain and Mount Chiquita. Consistently less busy than the Bear Lake trails and rewards the extra distance with solitude.
Strenuous Hikes
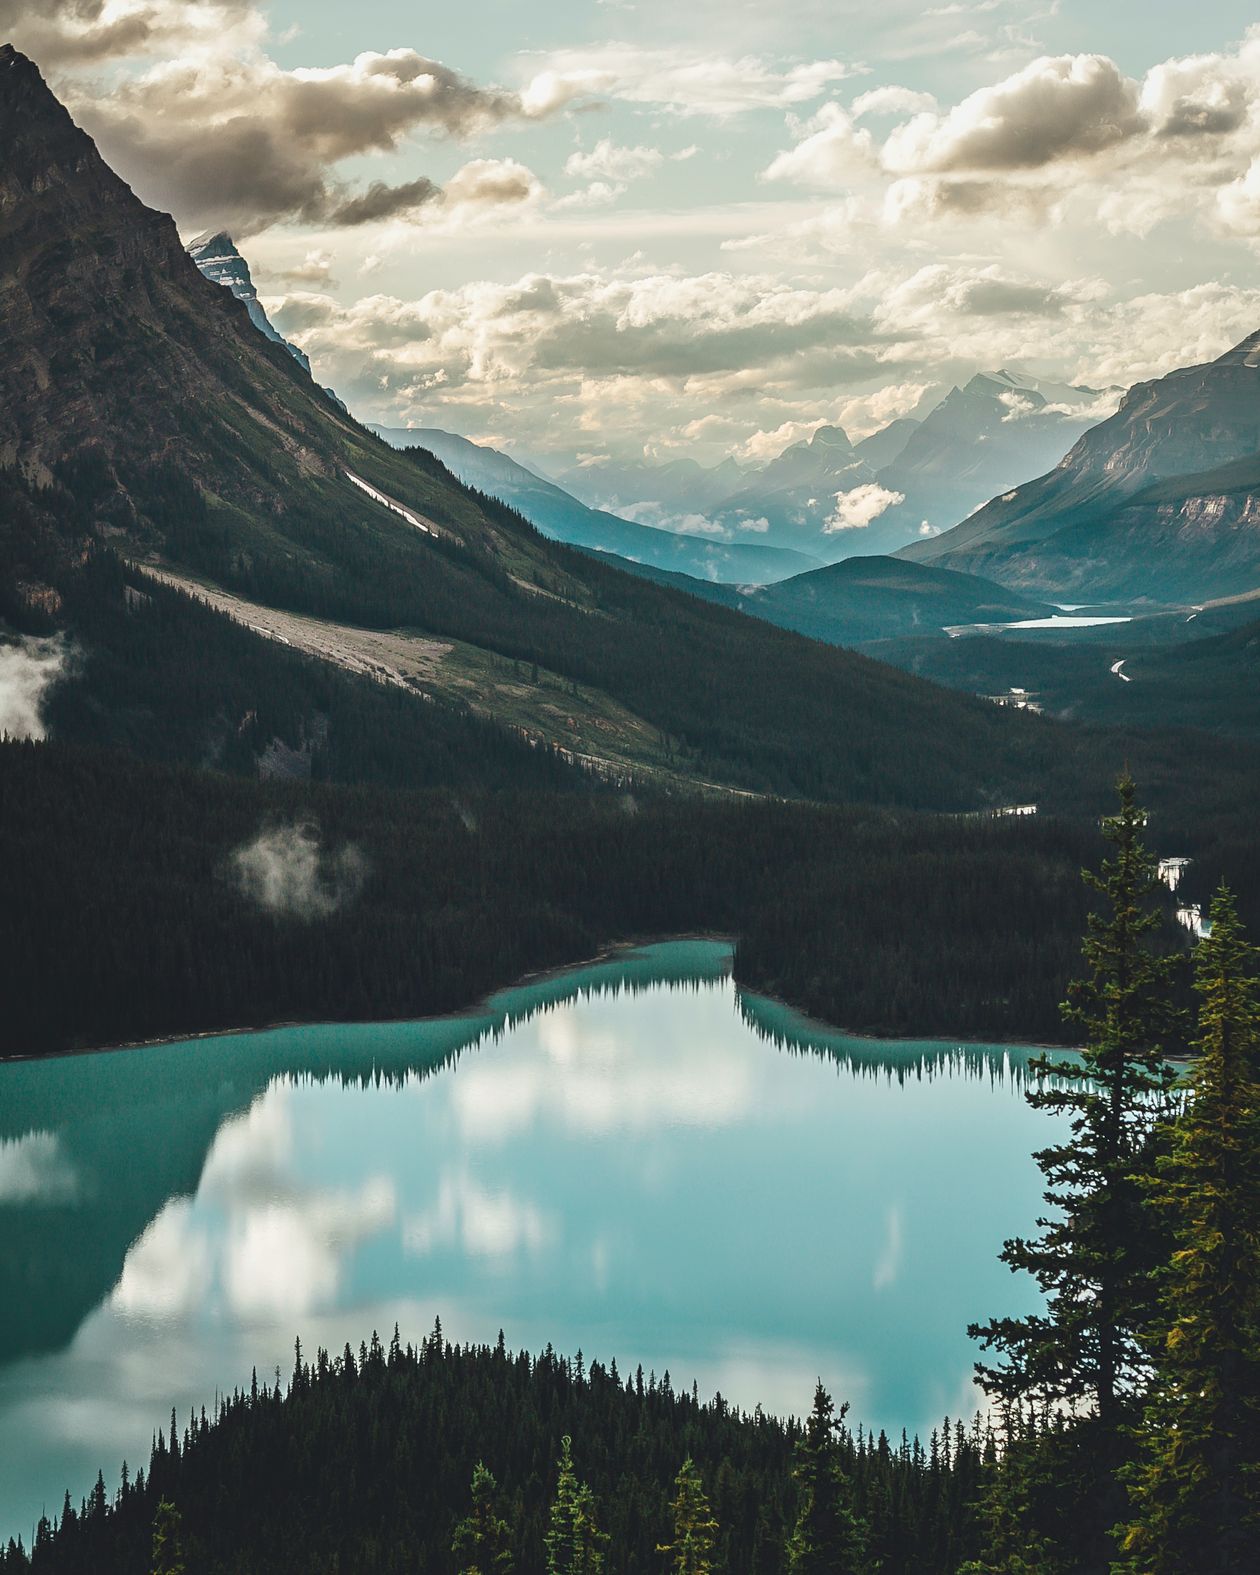
Flattop Mountain — 8.8 miles round trip, 2,849 feet of gain. Starts at the Bear Lake trailhead and climbs steadily past Emerald Lake before breaking above treeline onto the open tundra. The summit is exactly what the name promises — a broad, rocky plateau at 12,324 feet with unobstructed views of the Continental Divide and the park in every direction. From Flattop you can scramble up the rock field to Hallett Peak (12,713 ft) for an even more dramatic panorama. Most visitors are heading to Emerald Lake, so you’ll lose the crowds within a mile of the trailhead. Afternoon weather moves in fast above treeline — start before 7am in summer.
Odessa Lake — 8.2 miles round trip, 1,575 feet of gain. The quieter version of the Emerald Lake experience. Starts at the Bear Lake trailhead but immediately diverges from the main trail, shedding most of the crowds. Passes Fern Lake and Lake Helene on the way to Odessa Lake. More technically demanding than the Emerald Lake Trail but offers comparable scenery with dramatically fewer people. Best as a point-to-point from Bear Lake to Fern Lake trailhead if you can arrange a car shuttle.
Chasm Lake — 8.4 miles round trip, 2,380 feet of gain. The destination is a cirque lake beneath the east face of Longs Peak — the most dramatic mountain in the park at 14,259 feet. The hike crosses alpine tundra and ends at a boulder field that frames the lake and the sheer granite wall above it. Longs Peak itself requires a technical route and is a full 15-mile summit attempt — Chasm Lake is the accessible payoff that gets you close enough to feel the scale. Start at Longs Peak Trailhead, which fills before sunrise. No Bear Lake permit needed.
Trail Ridge Road: The Drive That Changes How You See the Park
Trail Ridge Road is the highest continuous paved road in the United States, crossing the Continental Divide at 12,183 feet. It connects Estes Park on the east side to Grand Lake on the west side, and the drive takes about 90 minutes without stops — though you’ll want to stop constantly. The Alpine Visitor Center at Fall River Pass (11,796 ft) sits above treeline and has sweeping views across the tundra in every direction. The short Alpine Ridge Trail from the visitor center (0.6 miles round trip) gains another 150 feet and earns a view that most visitors never see despite being 10 minutes from the parking lot.
Trail Ridge Road typically opens by Memorial Day and closes by mid-October when snow makes it impassable. If you have a standard Timed Entry permit (not the Bear Lake version), this is where to spend your day.
SHOP HIKING GEAR
Our Full Gear List for Mountain Hikes
Boots, trekking poles, rain layers, daypacks, water filters — everything we actually bring.
What to Pack for Rocky Mountain National Park
Hiking Boots
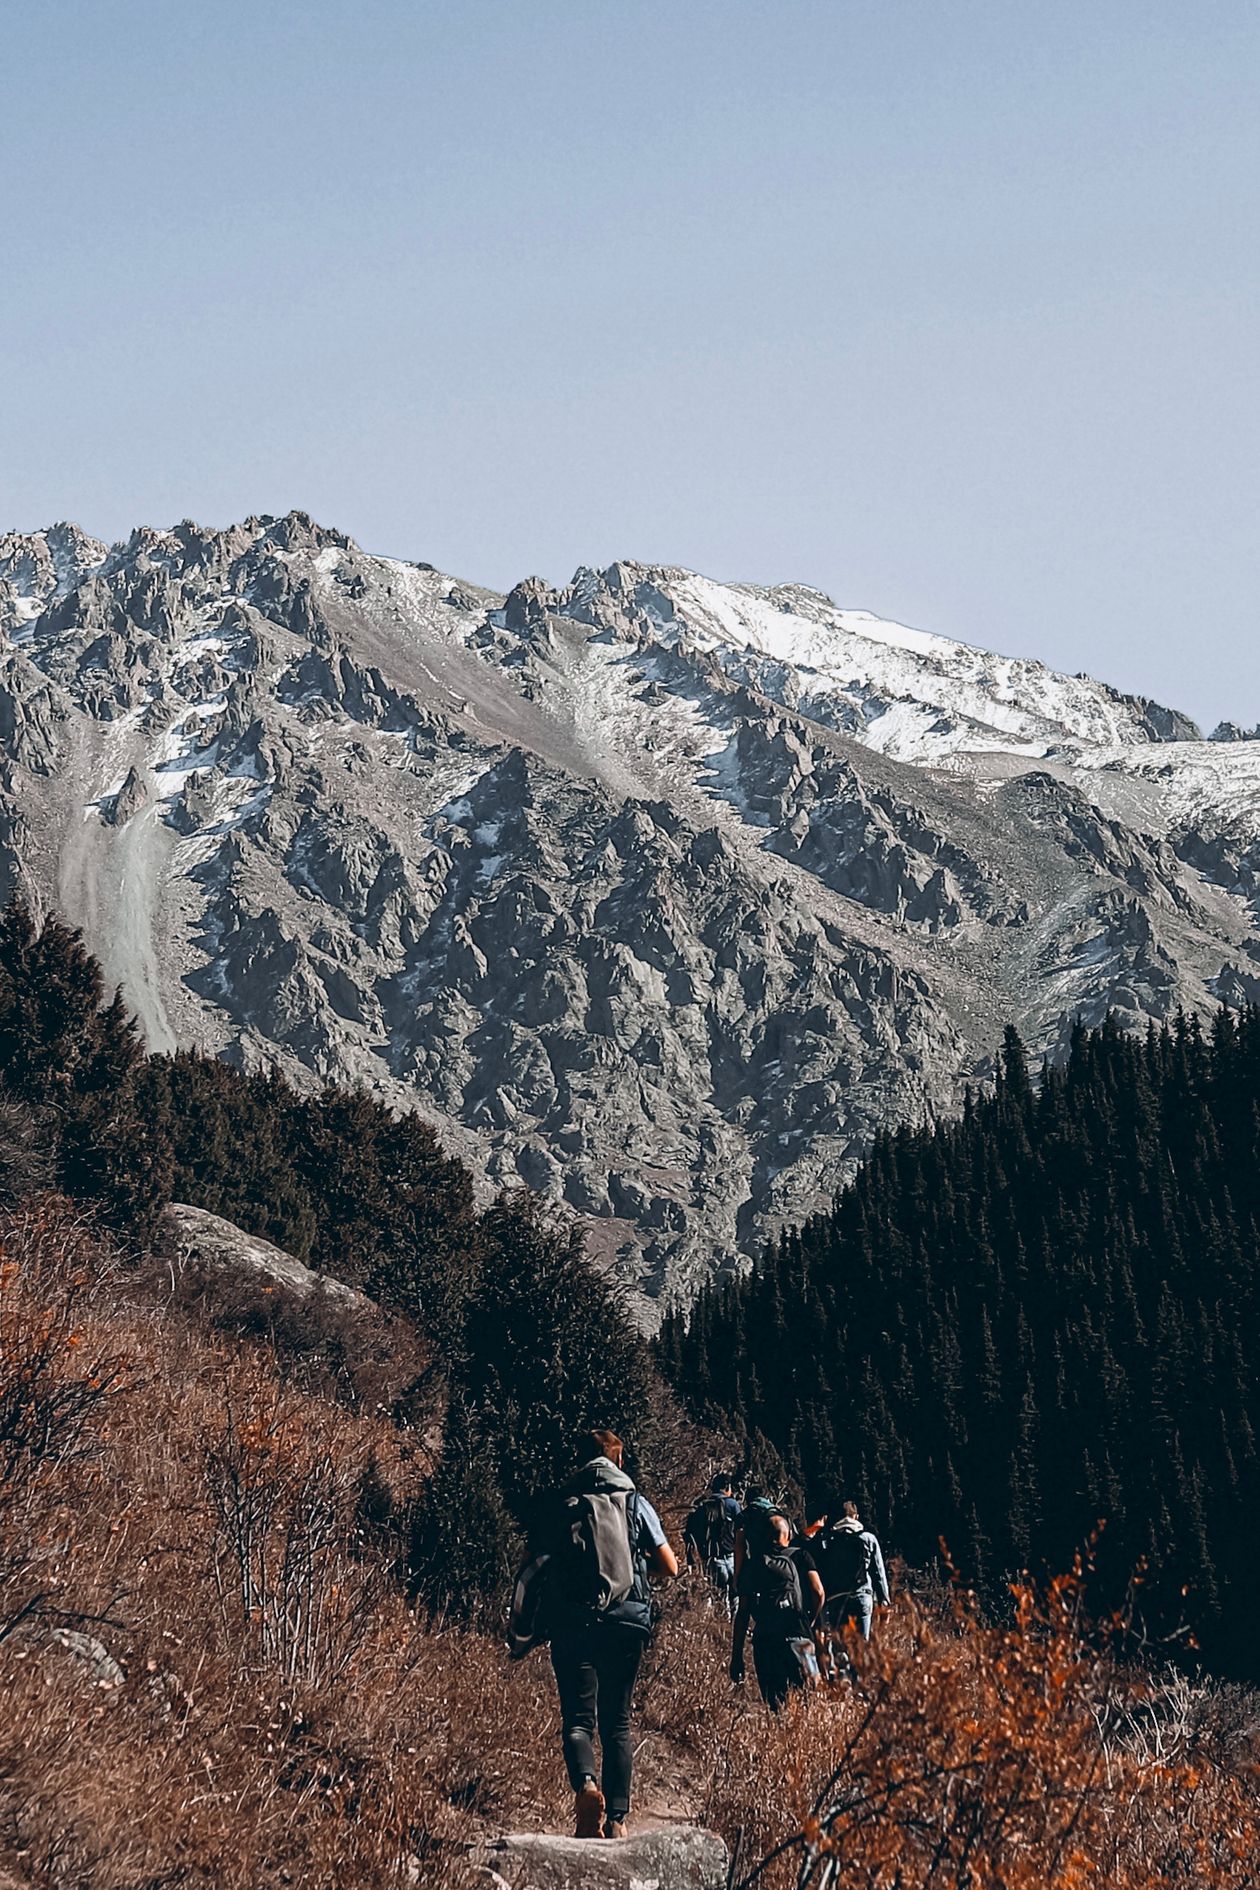
The trails above Bear Lake are rocky, rooted, and often wet from snowmelt through July. Trail runners work for fit, experienced hikers. For everyone else, a boot with ankle support prevents the rolled ankles that end trips early. Salomon and Merrell both have strong options on Amazon with tens of thousands of reviews — the Salomon X Ultra and Merrell Moab are the two most consistently recommended for this type of terrain.
Hiking Boots (Women’s)
Ankle support, grip, waterproofing — the three things that matter on RMNP trails
Why you need them: Rocky, uneven terrain on every trail above 9,000 feet, often wet from snowmelt through early July. A boot with real ankle support and a grippy outsole makes the difference between a confident climb and a sketchy one. Waterproofing matters on trails that cross snowmelt streams.
The catch: New boots will destroy your feet. If you buy them for this trip, wear them on several shorter hikes first. Don’t break in boots at 10,000 feet.
A Packable Rain Layer
Afternoon thunderstorms in June, July, and August are not a possibility — they’re a near-certainty. A rain jacket that packs down to the size of a softball weighs almost nothing and takes up no space in a daypack. You will feel like you’re carrying it for no reason every morning and you will be glad you have it at 2pm. This is the one item that separates people who had a great day from people who had a miserable one.
Packable Rain Jacket
The non-negotiable item for any summer hike in RMNP
Why you need it: Afternoon storms move in fast and the temperature drops 20 degrees with the rain. Above treeline there’s nowhere to shelter. A packable jacket takes 30 seconds to put on and weighs under a pound. Columbia and Marmot both have strong options in the $60-90 range with thousands of reviews.
The catch: “Water resistant” is not the same as waterproof. In a serious mountain storm, only a fully seam-sealed jacket keeps you dry. Check the product description before you buy.
Trekking Poles
At altitude, your legs tire faster than at sea level — the physics of oxygen deprivation. Trekking poles distribute the work to your arms and shoulders on the climb and protect your knees on the descent. Most people who try them at elevation never hike without them again. Collapsible poles pack small and clip to the outside of a daypack when you don’t need them on flat sections.
Collapsible Trekking Poles
More useful at altitude than at sea level — the elevation changes everything
Why they help: Black Diamond and Cascade Mountain Tech are the two most-reviewed options on Amazon, with the Cascade version being one of the best-value outdoor products available — well under $50 with thousands of 4.5+ star reviews. For RMNP specifically, adjustable length matters since you’ll want them shorter on climbs and longer on descents.
The catch: Twist-lock poles can loosen under load. If you buy a twist-lock version, check that each section is fully tightened before hitting a steep section.
Water and Hydration
Altitude accelerates dehydration — you’re breathing harder and the air is drier. Plan for at least two liters on any hike over three miles. For longer trails, the lakes and streams in RMNP are plentiful but untreated — a Sawyer Squeeze or LifeStraw lets you filter on the go without carrying all your water from the trailhead. Both are compact, inexpensive, and have enormous review counts on Amazon.
If you’re planning for photos specifically — and if you’re reading picinspo, you probably are — our phone tripod guide covers the lightweight setups that don’t add weight on trail but deliver significantly better shots at the lakes. The morning light at Emerald Lake and Bear Lake is worth setting up for. Our hiking date ideas guide also has framing tips that work specifically at mountain locations like this.
What NOT to Do at Rocky Mountain National Park
Don’t arrive at Bear Lake after 9am expecting to park. The lot fills before then even with the permit system. Take the shuttle from Glacier Basin or get there before the permit window opens at 5am.
Don’t skip the acclimatization day. One night of sleep at elevation before your first real hike is the single highest-return investment you can make for this trip. The difference between feeling strong on trail and feeling like you’re moving through wet cement is often just that one night.
Don’t start a strenuous hike after 9am in summer. Afternoon storms build by early afternoon and move in fast. On exposed ridges and above treeline, there’s no shelter and lightning is a real danger. Early starts are not optional for Flattop, Chasm Lake, or any above-treeline route.
Don’t bring your dog expecting to hike the main trails. Dogs are not allowed on most trails in RMNP, including all the Bear Lake corridor hikes. Lily Lake and the Riverwalk at Horseshoe Park are the main exceptions. Check before you go — rangers do enforce it.
Don’t underestimate Trail Ridge Road in bad weather. Above treeline, conditions change within minutes. What’s a scenic drive in sunshine becomes a whiteout in a summer storm. Check the weather before driving over the top and have a plan to turn around.
Frequently Asked Questions
When is the best time to visit Rocky Mountain National Park?
Late September through early October is the sweet spot: the crowds thin after Labor Day, the aspen groves turn gold, temperatures are cool but manageable, and the afternoon storm pattern weakens. Elk rut is in full swing in September, which means regular wildlife sightings in Horseshoe Park and Moraine Park. Summer (June-August) is when most people visit — trails are fully open, wildflowers peak in July, but crowds and afternoon storms are at their highest. May and early June have quieter trails but snow on higher routes.
Do I need a timed entry permit if I arrive before the window opens?
No. The Bear Lake Road permit window runs 5am-6pm. If you’re at the Bear Lake corridor entrance before 5am, you enter without a reservation — just your park pass. The rest-of-park window runs 9am-2pm. Arriving early is a legitimate strategy and has the bonus of hitting trails before the day-hikers arrive.
Is the America the Beautiful Pass worth it for RMNP?
Yes, if you’re doing two or more parks. At $80, it covers two visits to RMNP alone (two 7-day passes at $35 each = $70), plus every other national park, national forest, and federal recreation site you hit in the same year. Rocky Mountain, Great Sand Dunes, Black Canyon of the Gunnison, and Mesa Verde are all within a Colorado road trip — the pass pays for itself comfortably on that loop.
Are dogs allowed in Rocky Mountain National Park?
Dogs are allowed in the park on leash but prohibited on most hiking trails, including all Bear Lake corridor trails. They’re allowed on the Lily Lake loop, the Riverwalk in Horseshoe Park, roadsides, parking areas, and campgrounds. If hiking with a dog is important, Lily Lake is genuinely beautiful and worth making it the main event.
What should I do about altitude sickness?
Sleep at elevation the night before hiking — this is the most effective prevention. Hydrate well the day before and on trail. Go slower than feels necessary, especially in the first hour. If you get a headache, nausea, or feel dizzy, stop climbing immediately and descend to a lower elevation. Over-the-counter ibuprofen helps with altitude headache symptoms. Severe symptoms (confusion, difficulty walking, severe shortness of breath) require immediate descent and medical attention. Don’t push through serious symptoms.
Is the Emerald Lake Trail worth the hype?
Yes. It’s busy for a reason — the combination of four lakes, consistent mountain views, and manageable difficulty makes it one of the best hikes in the country for what it delivers per mile of effort. Go early (before 8am) to experience it without the crowds, and don’t stop at the first lake. Emerald Lake at the top is the payoff, and most people who turn around early miss the best part.
BEFORE YOU PACK
The Hiking Gear We Actually Bring to the Mountains
Boots, poles, rain layers, packs, water filters — curated from what we use on trail. Updated regularly.