
Your iPhone Can Shoot the Milky Way Now. Here’s How to Actually Do It.
Disclosure: This post may contain affiliate links. I may earn a small commission if you click a link or make a purchase, at no additional cost to you. See my disclosure for more info.
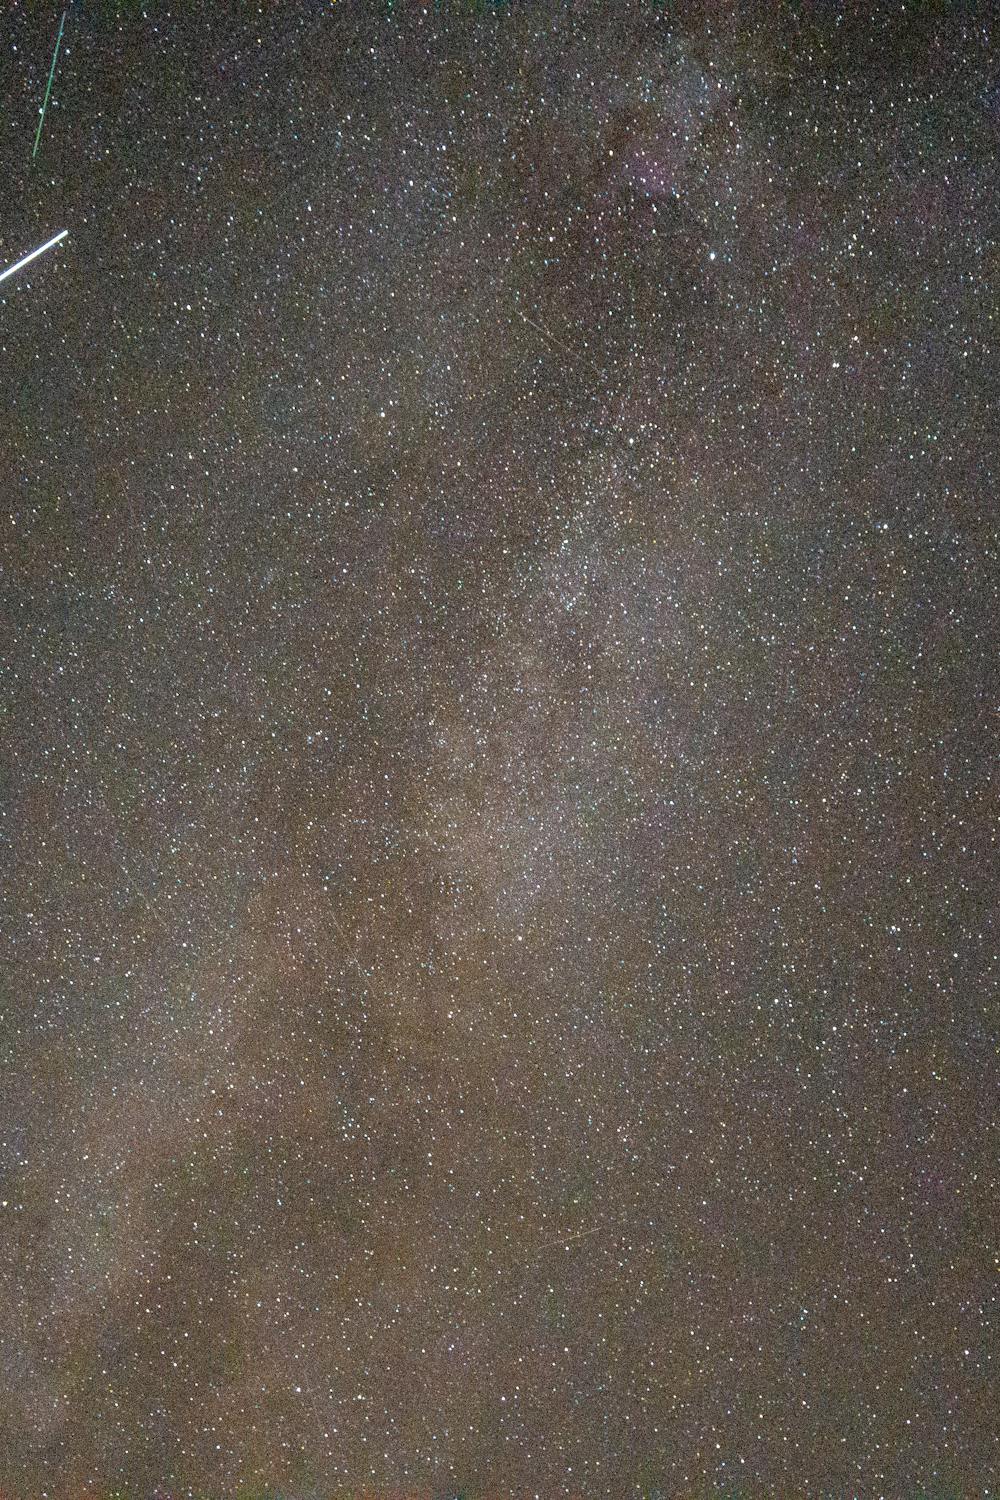
iPhones have gotten genuinely good at night sky photography. If you’re in the right place with the right settings and your phone is completely still, you can photograph the Milky Way in a way that would have required a professional camera setup a few years ago. Here’s everything you need to actually get the shot.
This post includes affiliate links. We may earn a small commission if you buy something.
Light pollution kills most night sky photos before they start
You’re not photographing the Milky Way from a city or suburb. The glow from streetlights and buildings washes out the stars completely. You need actual dark sky. A good rule: if you can see the Milky Way faintly with your naked eye, your iPhone can capture it. If you can’t see it at all, neither can your phone.
Download the Light Pollution Map app or go to lightpollutionmap.info before you go. Look for dark green or black zones. You usually need to be at least an hour outside a major city, and the further the better. Check the lunar calendar too. A full moon washes out stars the same way city lights do. New moon nights are the ones you want.
Your phone has to be completely still. Not mostly still.
Night sky shots use exposures of 10 to 30 seconds. Any movement at all during those seconds creates blur across the whole image. Holding the phone in your hand doesn’t work. Set it on a rock, a fence post, a flat surface, propped against a bag. A small tripod is the cleanest solution and the one that gives you actual control over framing.
If you have nothing to set it on: feet wide apart, elbows locked tight against your ribs, hold your breath for the entire exposure, and set the timer to 3 seconds so the phone stops vibrating from your tap before the shutter opens. Not ideal but workable on shorter exposures.
Settings that actually work
On iPhone 14 and newer: Night Mode in the native camera app with the phone on a stable surface will automatically extend to a longer exposure, sometimes up to 30 seconds. You’ll see a timer at the top. Don’t touch the phone while it’s running.
For more control: the NightCap app (about $4 on the App Store) lets you manually set ISO and shutter speed. Start at ISO 1600 to 3200 and a 15 to 20 second shutter. Under 20 seconds keeps stars as sharp pinpoints. Past 25 to 30 seconds the stars start trailing as arcs from Earth’s rotation, which is a completely different aesthetic. Both look intentional when done on purpose, but you need to pick one.
Put something in the foreground
A photo of just sky is less interesting than a photo with something recognizable at the bottom. Trees silhouetted against the Milky Way. A mountain ridge. A road disappearing into the distance. A person. The foreground gives the image scale and somewhere for the eye to land before it moves up to the sky. Frame it intentionally: Milky Way in the upper half, something dark and recognizable in the lower half.
How to get yourself in the shot
This is the most interesting thing you can do with night sky photography and almost nobody does it. Set your phone on a tripod, turn the sound on so you can hear the shutter, use a 10-second timer, and run into position. Stand completely still for the full exposure. You’ll register clearly against the sky as a silhouette.
The technique that makes it look like a completely different level of photography: light yourself during the exposure. Start the timer, get into position, and once the shutter opens (you’ll hear it), hold a second phone out at arm’s length at about waist height with the screen facing outward toward you. Click the screen on briefly a few times during the first 10 seconds of a 30-second exposure. That brief illumination registers on the long exposure and you show up as a properly lit figure against the Milky Way. Then turn the screen off and hold completely still until the exposure closes.
The sky behind you stays sharp the whole time because it doesn’t move. You can experiment with how long you illuminate, how bright the screen is, and whether you want your face lit or just your silhouette rim-lit. Every variation gives you something different and the creative range is huge once you start.
Editing
Increase contrast and clarity to make the stars pop. Lift the shadows slightly to reveal detail in the darker parts of the sky. Use Lightroom’s AI Denoise if you have it. It’s excellent for high-ISO night shots. Don’t overbrighten. The dark areas are part of the photo. The Milky Way has a natural purple and blue tint; keep it, that’s what makes it look real.
Quick checklist
Check the light pollution map before you go. Pick a new moon night. Get at least an hour from the city. Phone on a tripod or fully stable surface. Set a 3-second timer so your tap doesn’t shake the shot. Night Mode native or NightCap app, ISO 1600 to 3200, 15 to 20 seconds for sharp stars. Something in the foreground. For portraits: second phone to briefly light yourself during the exposure. Take multiple frames and pick the sharpest one.