
How to Build a Coffee Setup at Home (Without Overcomplicating It)
Disclosure: This post may contain affiliate links. I may earn a small commission if you click a link or make a purchase, at no additional cost to you. See my disclosure for more info.
You’re spending $6 a day at the coffee shop. The coffee at home tastes hollow by comparison. And every time you try to fix it, you buy the wrong thing first.
The problem isn’t your beans. It’s not your machine. It’s the order you built your setup in.
We use a home espresso setup daily, have tested gear across every price point, and cross-referenced every pick below against real Amazon review data — nothing under 4.3 stars, nothing under 1,000 reviews.
This guide covers beginners through serious home baristas. Jump to whatever level you’re at.
TLDR — THE SHORT VERSION
Step 1: Buy a burr grinder. This is the single biggest upgrade in home coffee. Skip this and nothing else matters.
Step 2: Buy a brewer. AeroPress for max flexibility ($40). Hario V60 if you want clean pour-over.
Step 3: Add espresso. CASABREWS at $140 for lattes. De’Longhi at $150 for a step up. Gaggia Classic at $499 when you’re serious.
Total beginner setup: ~$108. Good espresso setup: ~$250. Serious home barista: ~$570+.
OUR PICK — BREWER

AeroPress Original
$39.95 | 4.6★ | 25,897 reviews
Most versatile brewer you can buy. Makes everything from espresso-style to cold brew. 25,897 reviews don’t lie.
OUR PICK — GRINDER

Ollygrin Burr Grinder
$67.99 | 4.5★ | 1,793 reviews
30 grind settings, conical burrs, 2–12 cup range. The upgrade that fixes everything else.
SHOP THE FULL LIST
Every Grinder, Machine & Accessory We Recommend
Our curated Amazon coffee list — updated regularly.
Why You Should Trust This
Every product in this guide meets a hard floor: 4.3+ stars and at least 1,000 verified reviews on Amazon.
The AeroPress has 25,897 reviews at 4.6 stars. The Hario V60 has 11,858 at 4.8. These aren’t Amazon algorithm flukes — they’re two decades of home brewers making the same choice and standing behind it.
We cross-referenced these picks against what specialty coffee communities actually recommend at each budget, not just what ranks highest in sponsored results. We also use a home espresso setup daily. The order we’re recommending? It’s the order we’d buy in again.
The Order That Changes Everything
Most people build their coffee setup backwards.
They buy a $200 machine and grind with a $15 blade grinder from the bundle pack. Then they wonder why their coffee still tastes flat or bitter no matter what beans they use.
The blade grinder is the problem. It chops unevenly — part powder, part chunks. Uneven grounds extract at different rates. The fine bits over-extract (bitter). The coarse bits under-extract (sour). That combination is what you’re tasting.
A burr grinder crushes beans to a consistent particle size. Every ground extracts at the same rate. That’s the entire secret behind why coffee at a good cafe tastes different from coffee at home — and it’s a $68 fix, not a $500 one.
Buy in this order: grinder → brewer → espresso machine.
The grinder improves every single cup you’ll ever make. The brewer determines the style. The espresso machine comes last, only after the grind is dialed in — otherwise you’re just brewing expensive bad espresso faster.
If you want to understand the full picture of why each piece matters, our Coffee 101 guide covers extraction, grind size, water temperature, and brew ratios from scratch.
Step 1: The Grinder
This is the only piece of gear that improves every cup you make, regardless of what brewer or machine you pair it with.
Don’t skip it. Don’t “start with the cheap blade grinder and upgrade later.” Just buy the burr grinder first.
Ollygrin Conical Burr Grinder — Best Value Under $70

4.5★ | 1,793 reviews | $67.99
Why we picked it: 30 grind settings covers everything from fine espresso to coarse French press.
Conical burr mechanism produces consistent particle size — this is what you’re actually paying for.
Handles 2–12 cups, removable ground container for clean transfer, quiet enough for early mornings.
Best value in burr grinding under $100 by a significant margin.
The catch: Grind settings aren’t intuitively labeled. Spend one morning dialing in your number and write it down — you’ll never think about it again after that.
SHARDOR Professional Burr Grinder — Most Control Under $70

SHARDOR Pro Conical Burr Grinder
4.5★ | 1,444 reviews | $69.98
Why we picked it: 48 grind settings and a precision timer so you can program the exact same grind every morning without measuring.
Anti-static technology keeps grounds from clinging to the chute. Small thing, big daily quality-of-life improvement.
Stainless housing. Looks good on the counter, which matters when it’s a permanent fixture.
The catch: The timer is in seconds, not grams. Weigh your output once to calibrate the right time for your dose, then set it and forget it.
Already past the beginner stage? If you’re grinding for espresso specifically and want more precision, the intermediate setup guide covers the Baratza Encore and Breville Smart Grinder Pro — both dedicated espresso grinders in the $150–$200 range.
Step 2: The Brewer
Once you have a burr grinder, any decent brewer produces cafe-quality coffee. The choice here is about style and learning curve.
AeroPress Original — Best for Most People

AeroPress Original Coffee Press
4.6★ | 25,897 reviews | $39.95
Why we picked it: 25,897 reviews at 4.6 stars is one of the strongest review profiles on Amazon, period.
Brews in 2 minutes. Makes espresso-style concentrate, full-cup drip-style, cold brew — it does everything.
The plastic body is indestructible. Specialty coffee professionals genuinely travel with this. It’s not a beginner compromise.
The catch: One cup at a time. Fine once it’s habit — mildly annoying if you’re making coffee for two every morning.
Hario V60 — Best for Pour-Over

4.8★ | 11,858 reviews | $29.00
Why we picked it: 4.8 stars across 11,858 reviews is close to a perfect score for any kitchen product.
The V60’s spiral ribs and single large hole give you full control over extraction speed. Slow pour = more body. Faster pour = lighter, cleaner cup. Once you dial in a recipe, every cup is identical.
It’s also the most aesthetic brewer on the counter — relevant for the coffee pic you’re setting up next to it.
The catch: More technique-dependent than the AeroPress. Your pour speed and timing affect the outcome. Takes a few brews to feel natural. If you want zero learning curve, get the AeroPress instead.
Step 3: The Espresso Machines
If you want lattes, cappuccinos, or anything with actual espresso at the base — you need a machine with 9+ bars of pressure and a steam wand.
Below are three tiers. Each one produces real espresso. The difference is precision, steam power, and how long you’ll keep it before wanting to upgrade.
| Tier | Machine | Price | Best for |
|---|---|---|---|
| Budget | CASABREWS CM5418 | $139.99 | First espresso machine, daily lattes |
| Mid-range | De’Longhi Stilosa | $149.95 | More brand credibility, 13K+ reviews |
| Serious | Gaggia Classic Evo Pro | $499.00 | Commercial-grade group head, lasts decades |
CASABREWS CM5418 — Best Entry Espresso Machine

CASABREWS CM5418 20-Bar Espresso Machine
4.3★ | 7,820 reviews | $139.99
Why we picked it: 7,820 reviews at 4.3 stars. Consistent enough to trust at this price point.
20-bar pump, steam milk frother, 34oz removable water tank, stainless steel housing. Pulls shots with real crema.
This is what most people mean when they say they want espresso at home without spending Breville money. It delivers.
The catch: The steam wand takes practice to texture milk properly. Your first few lattes won’t look like the ones in your saved pics. That’s a skill gap, not a machine flaw — give it two weeks.
De’Longhi Stilosa — Best Mid-Range Entry

De’Longhi Stilosa 15-Bar Espresso Machine
4.2★ | 13,627 reviews | $149.95
Why we picked it: 13,627 reviews gives you a much larger pool of real-world feedback to trust.
De’Longhi has been making espresso machines since 1974. The Stilosa is their entry model, and it inherits better engineering quality than comparable no-name machines at the same price.
15-bar pump, manual steam wand, compact footprint. Good choice if you want brand durability and a larger review base before committing.
The catch: The steam pressure is lower than mid-range Brevilles. Fine for lattes; not ideal if you’re chasing latte art microfoam. That’s a $300+ machine problem.
Gaggia Classic Evo Pro — The Machine You Won’t Outgrow

4.4★ | 3,125 reviews | $499.00
Why we picked it: The Gaggia Classic has been in production since 1991. That is not a coincidence.
Commercial 58mm portafilter, 3-way solenoid valve, a steam wand with real pressure. This is the machine where beginner technique ends and actual barista skill starts to matter.
People buy this and keep it for 10–15 years. Total cost over a decade is significantly lower than cycling through $150 machines every 2 years.
The catch: It has no built-in grinder. You need a burr grinder that can hit fine espresso grind — the Ollygrin works at entry level, but a dedicated espresso grinder like the Baratza Encore ESP makes a noticeable difference at this machine tier.
If you’ve been looking at Breville specifically — the Bambino Plus and Barista Express — we break down exactly which one to get and why in The Breville Setup Everyone Starts With.
WANT MORE OPTIONS?
Our Full Coffee Equipment List — Every Machine We Recommend
Including the Breville Bambino, Baratza grinders, and every accessory worth buying.
The Complete Setup by Budget
| Budget | Gear | Total | What You Get |
|---|---|---|---|
| ~$108 | Ollygrin + AeroPress | $108 | Cafe-quality cup. Zero ongoing cost beyond beans. |
| ~$137 | + Hario V60 | $137 | Add clean pour-over option to the AeroPress |
| ~$250 | Ollygrin + AeroPress + CASABREWS | $248 | Real espresso shots + lattes + pour-over. Full setup. |
| ~$570 | SHARDOR Pro + Gaggia Classic | $569 | Serious home barista. Machine you keep for a decade. |
If you’re not sure which level is right for you, Every Level of Home Coffee Setup breaks down exactly what you get — and what you’re missing — at each stage.
What NOT to Buy First
A pod machine.
Pods cost $1–$1.50 each. The coffee is engineered to taste acceptable at scale, not good. The same $0.50 in quality beans, ground fresh through a burr grinder, produces a better cup every time.
A blade grinder.
They’re $15–$20 and feel like the logical cheap starting point. They’re not. An uneven grind means uneven extraction, which means bitter or hollow coffee no matter how good the beans or the machine. Skip it entirely and put that $15 toward the Ollygrin.
An expensive machine before a burr grinder.
A $600 Breville Barista Express has a built-in grinder — that’s fine, and it’s a good machine. But buying a $400 machine and pairing it with whatever blade grinder you have is a $400 mistake. The grinder comes first.
Fancy beans before you fix the grind.
Specialty single-origin beans from a local roaster won’t taste special if you’re grinding them with a blade. Fix the grind first, then spend money on beans. You’ll actually taste the difference.
The One Accessory Worth Adding Early
A kitchen scale. Not because you need to obsess over grams, but because consistency is the entire game in home coffee.
Scoops vary depending on how you fill them. Grams don’t. Once you dial in the dose that tastes right — typically 15–18g per cup for pour-over, 18–20g for espresso — a scale locks that in every morning without thinking.
The Etekcity scale on our coffee list has 173,872 reviews at 4.6 stars and costs around $10. It’s the most-reviewed kitchen scale on Amazon. Worth it.
That’s the whole beginner accessories list. You don’t need a gooseneck kettle to start. You don’t need a tamper mat. You don’t need a WDT tool. Add those later if you get serious about espresso. Start with just the scale.
The Aesthetic Part (Since You’re Here)
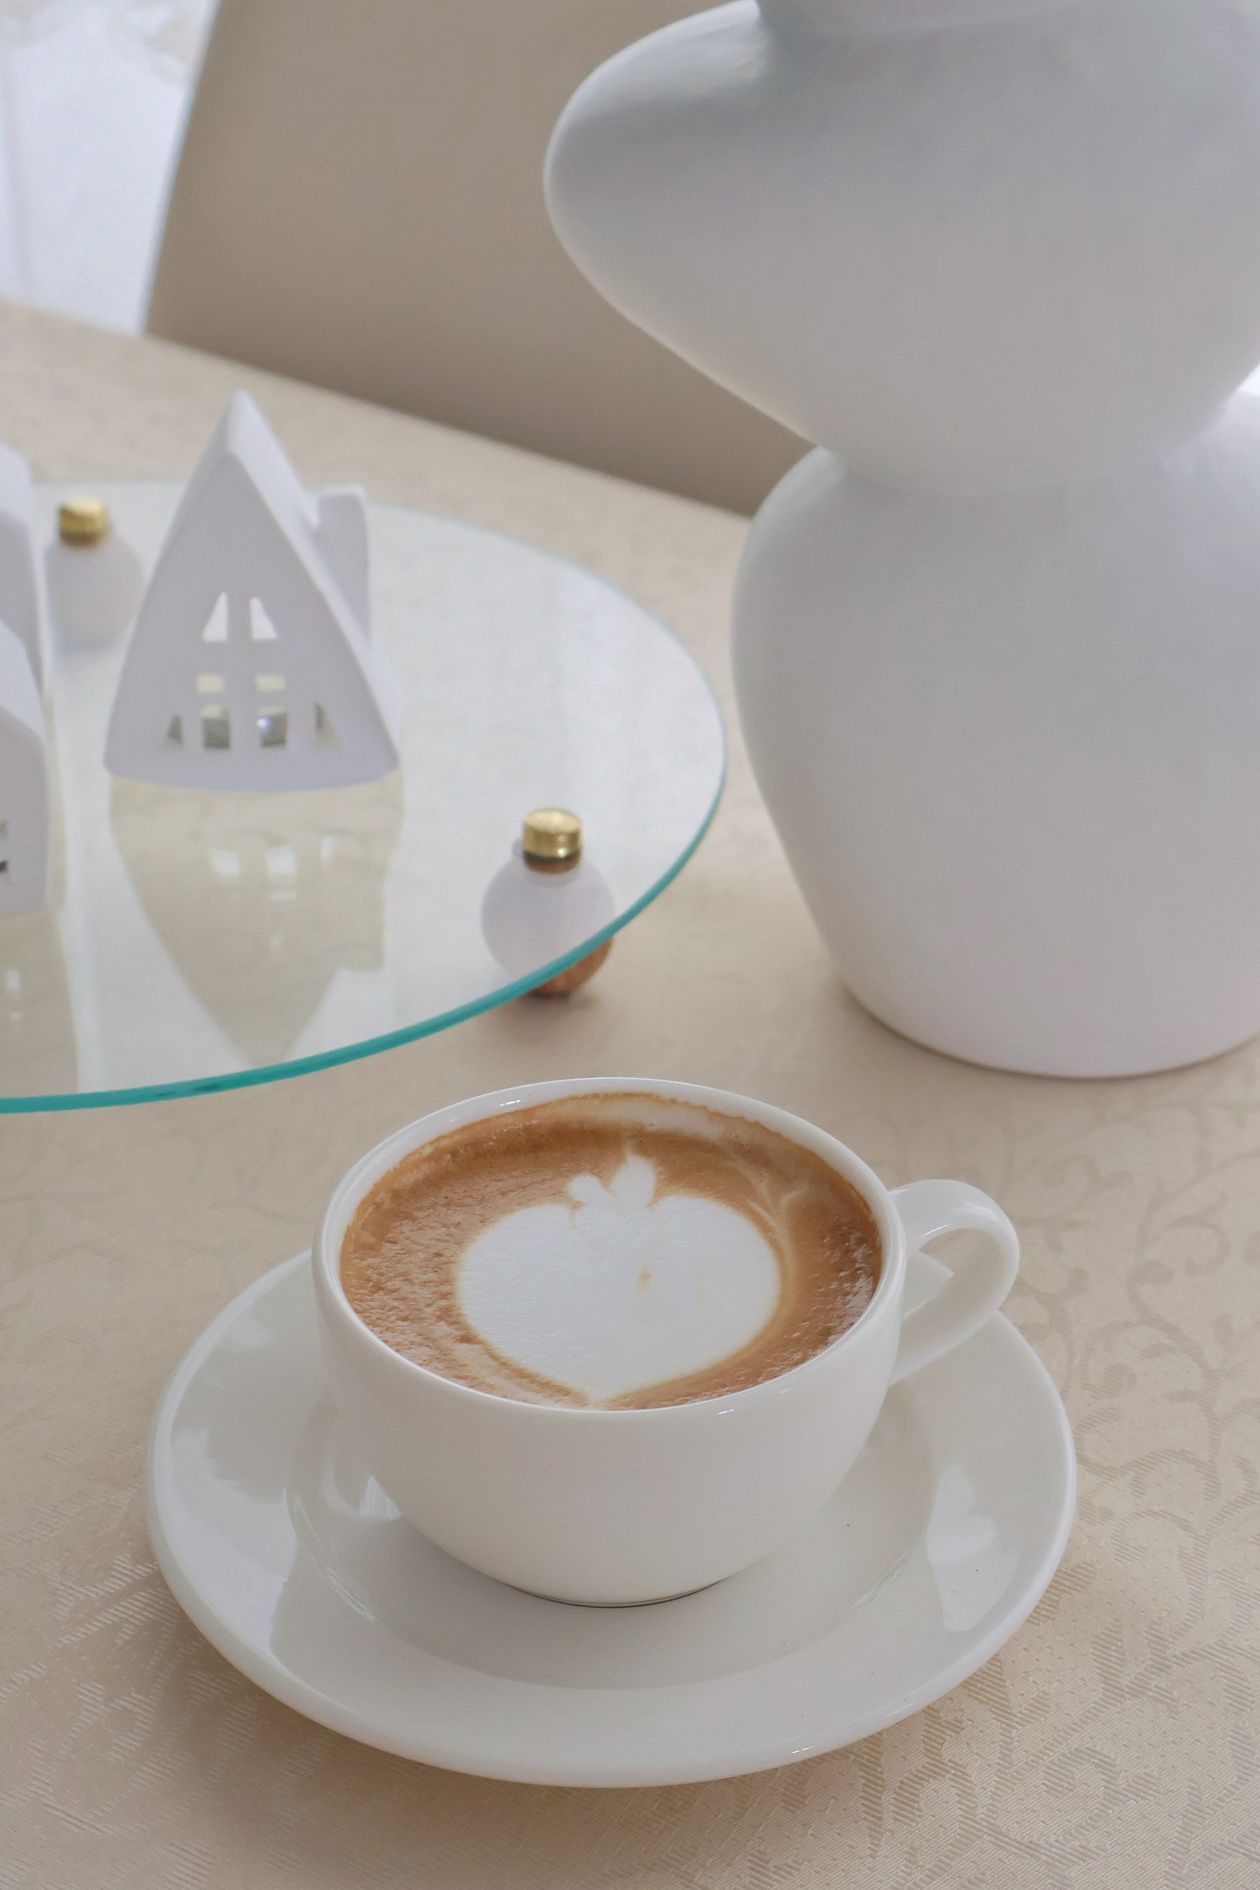
A home coffee setup that looks good in pics requires exactly two things: a clean surface and gear that isn’t ugly.
The Hario V60 in white ceramic is probably the most photogenic brewer you can own at any price. Pair it with a ceramic mug with some weight to it, keep the counter clear of clutter, and shoot from above in morning window light.
The CASABREWS and Gaggia both have stainless steel housings that look clean in a frame. The AeroPress is plastic and looks like what it is — fine for use, not the hero of a flat lay.
If you want the full breakdown of how to actually photograph your setup, How to Make Your Coffee Pic Look as Good as the Ones You Save covers every element — light, composition, props, angles.
The Math on Stopping the Coffee Shop Habit
One latte at Starbucks: $7. One at a local cafe: $6.50.
Five days a week = $32–$35/week. That’s $1,664–$1,820 a year.
The full beginner setup — Ollygrin grinder, AeroPress, and CASABREWS espresso machine — costs around $248. It pays for itself in about 10 weeks.
Beans for a month: $20–$30. Milk: $6–$10. Total monthly home coffee cost for a daily latte habit: around $30–$40.
We ran the full numbers — including the cost breakdown of every home setup level — in How Much Your Coffee Habit Is Actually Costing You.
FAQ
AeroPress or V60 — which one should I get?
AeroPress if you want zero learning curve and maximum flexibility. V60 if you want a cleaner, lighter cup and don’t mind dialing in a pour technique.
Both produce excellent coffee with a burr grinder. If you can only buy one, get the AeroPress. 25,897 reviews at 4.6 stars is not an accident.
What grind size should I use with the AeroPress?
Medium-fine for most recipes — similar texture to table salt.
If your coffee tastes sour, grind finer. If it tastes bitter, grind coarser. On the Ollygrin, start around setting 12–15 for a standard AeroPress brew. Dial it in once and write it down.
Is the CASABREWS good enough for a daily espresso habit?
Yes, for most people at this price point. It pulls real shots with crema, the steam wand works, and 7,820 reviews at 4.3 stars confirms it’s not just surviving one-star reviews.
Where it falls short of a $500+ machine: less temperature stability on back-to-back shots, and more moderate steam pressure. If you’re pulling 4+ shots a day or want proper latte art microfoam, you’ll eventually want the Gaggia. But for one or two lattes a morning, it’s more than enough.
Do I need a scale?
Not to start. But it’s the cheapest upgrade that improves consistency, and consistency is what makes home coffee actually reliable.
Once you find a dose that tastes right, a $10 scale locks that in every morning without guessing. Worth it.
How much should I spend on beans?
$14–$20 for a 12oz bag is the range where quality improves noticeably over grocery store beans.
Look for a roast date on the bag. Freshly roasted beans (within 2–4 weeks) taste dramatically different from anything without a roast date. Local roasters are often the same price as specialty bags online and significantly fresher.
I already have a basic setup and want to go deeper — what’s next?
If you’re past the beginner stage and want to get into proper espresso dialing, milk texturing, and gear for serious home baristas, The Intermediate to Advanced Home Coffee Setup covers exactly that.
If Breville is where you’re headed specifically, The Breville Setup guide breaks down the Bambino Plus vs. Barista Express with the exact differences that matter.
SHOP EVERYTHING IN THIS GUIDE
Grinders, Machines, Brewers & Accessories
All in one place on our Amazon storefront. Updated when better options come out.

