
Why Your Mirror Pics Never Look Right (And Exactly How to Fix It)
Disclosure: This post may contain affiliate links. I may earn a small commission if you click a link or make a purchase, at no additional cost to you. See my disclosure for more info.
You’ve saved a hundred mirror pics. You know the aesthetic you want. But every time you try it yourself something is off, the angle looks wrong, the lighting is flat, or you’re just standing there looking stiff. It’s not your face or your phone. It’s a few specific things nobody ever told you, and they’re all fixable right now.
This post includes affiliate links. We may earn a small commission if you buy something.
Start here: clean your phone lens
Your phone lives in your pocket or bag. The lens gets greasy constantly and almost nobody wipes it. A dirty lens scatters light, kills contrast, and creates a soft haze across the whole photo. Wipe it with your shirt before every session. This alone fixes more than people expect.
Lighting: face the window, not the mirror
Bathroom overhead lighting is the worst lighting that exists for pics. It hits the top of your head and casts hard shadows directly under your eyes, nose, and chin. That’s the tired, flat look you keep getting.
The fix: face a window. Natural side light wraps around your face instead of pressing down from above. If the light is behind you, your reflection goes dark. If it’s directly in front of you, it flattens everything. You want the light coming from the side, or slightly in front at an angle.
And don’t use flash. Flash into a mirror creates a blown-out white blob where your face should be. If you need more light, get closer to the window or use a ring light positioned behind the camera, not in the frame.
The mirror angle most people get wrong
Retail stores tilt their mirrors slightly forward at the top on purpose. It’s not an accident. The angle makes everyone look taller and slimmer. Take your full-length mirror off the wall bracket and lean it slightly forward against the wall. You’ll see the difference immediately.
Your phone position matters just as much. Hold it at chest height or just below for the most natural proportions. Too high and you’re doing an accidental selfie angle. Too low and the angle adds weight you don’t want. Angle it slightly to the side so the camera isn’t blocking your face, or hold it out to one side and use the timer.
Poses that actually work
Weight shift first. Put your weight on one hip, let the other drop slightly. Your whole silhouette gets shape. Stand with even weight on both feet and you look like you’re waiting for something. Every good mirror pic starts with a weight shift.
One hand on the hip, elbow back. Classic for a reason. It creates a gap between your arm and your waist, shows shape, and gives your hand something to do so it doesn’t just hang there.
The lean. One hand flat on the mirror or doorframe, weight into it slightly, look back toward the camera. Works especially well in oversized fits or anything with texture.
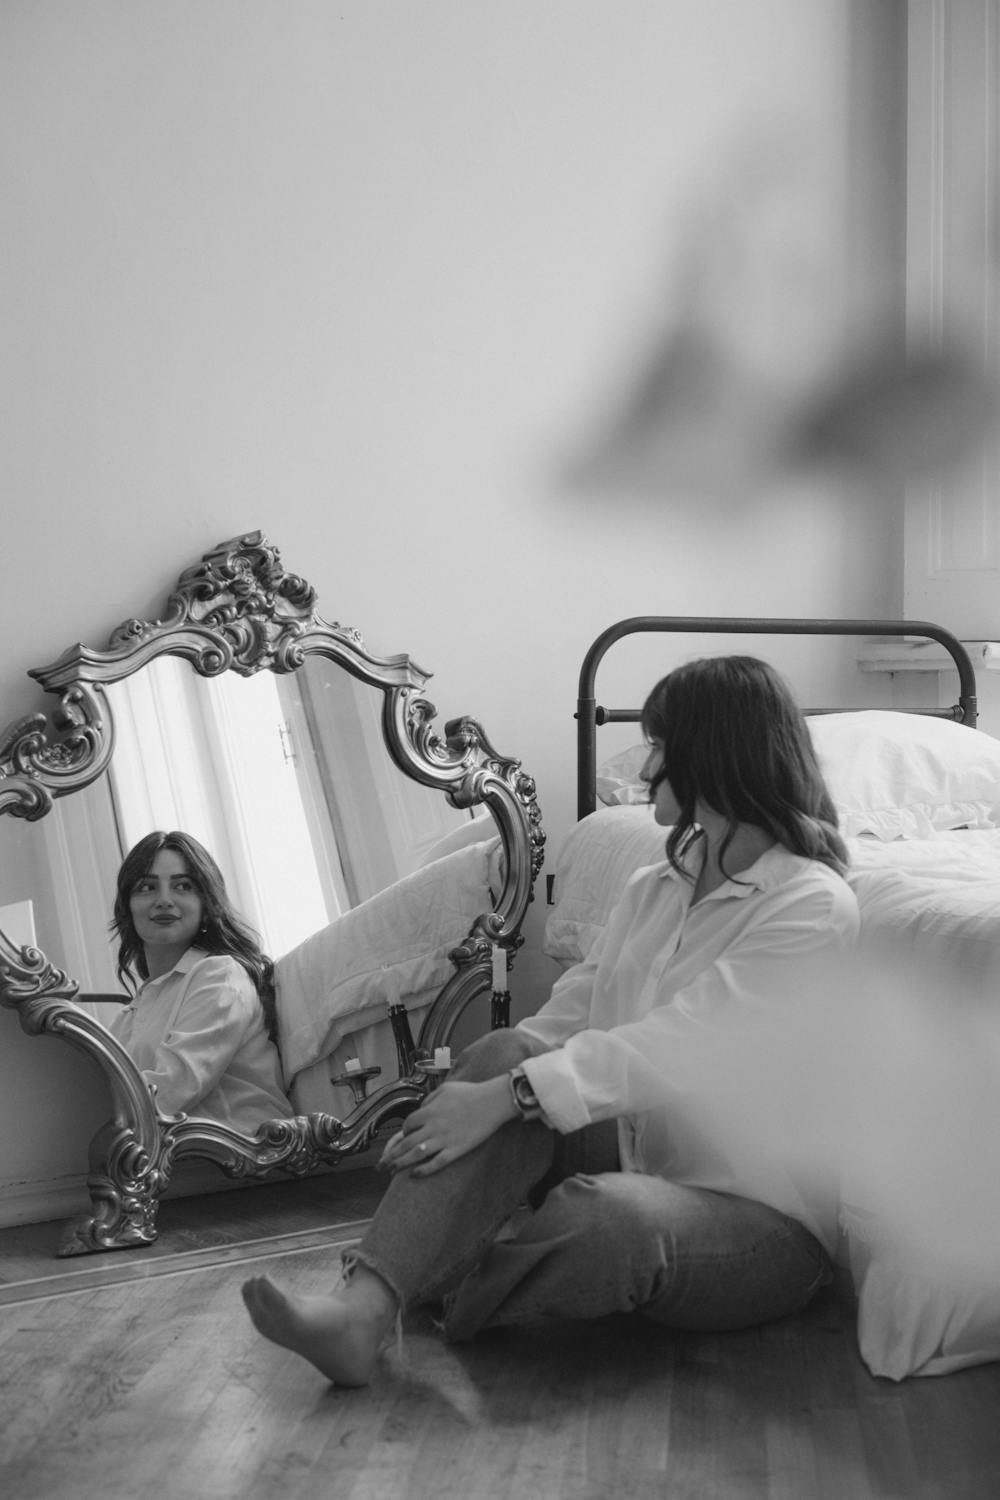
Looking away. You don’t have to look at the camera. Turn your chin slightly toward the window, look just past your reflection. These tend to feel the most natural and they usually are.
If you want to level up the lighting
A ring light with a phone holder creates soft, even light that makes indoor mirror pics look completely different. Under $40, positions behind your phone so it doesn’t appear in the mirror, and you don’t have to rely on which room has the best window anymore.
If you want a real camera for mirror pics, the Canon G7X Mark III is what’s all over this aesthetic. The flip screen means you can see yourself while you shoot without holding the phone in the frame. Around $750.
Before you shoot
Wipe your phone lens. Clean the mirror. Check the background for anything distracting. Face the window or position your ring light. Shift your weight to one hip. Phone at chest height. Take more shots than you think you need, the best one is rarely the first one.